Seed Libraries?
Yes indeed! A Tulsa Oklahoma library now offers seed packets to check out. You take them home, plant the seeds, enjoy the harvest, and save a few seeds to return to the library. The library even rates the seeds for beginning gardeners to advanced. In the interest of full disclosure, I confess that in addition to being a harvest manager, I am also a librarian. I love the Tulsa librarians for creating a seed library!
This program has benefits at so many levels, I don’t even know where to begin. Maybe I’ll keep it simple and just offer a list.
- Get fresh food close to home.
- Put unused land to good use.
- Learn self sufficiency.
- Learn science.
- Give back to the community in the form of seeds.
- Get some exercise and fresh air.
- Teach kids where food comes from.
- Find good books while you’re in the library picking up seeds.
Don’t you wish your library had a seed program? It could you know. The article in Tulsa World (linked above) says to go to Tulsa Library Guides or contact Johanna Burton at 918-549-7423 or email for more information. Go for it!
Pick Beans Daily
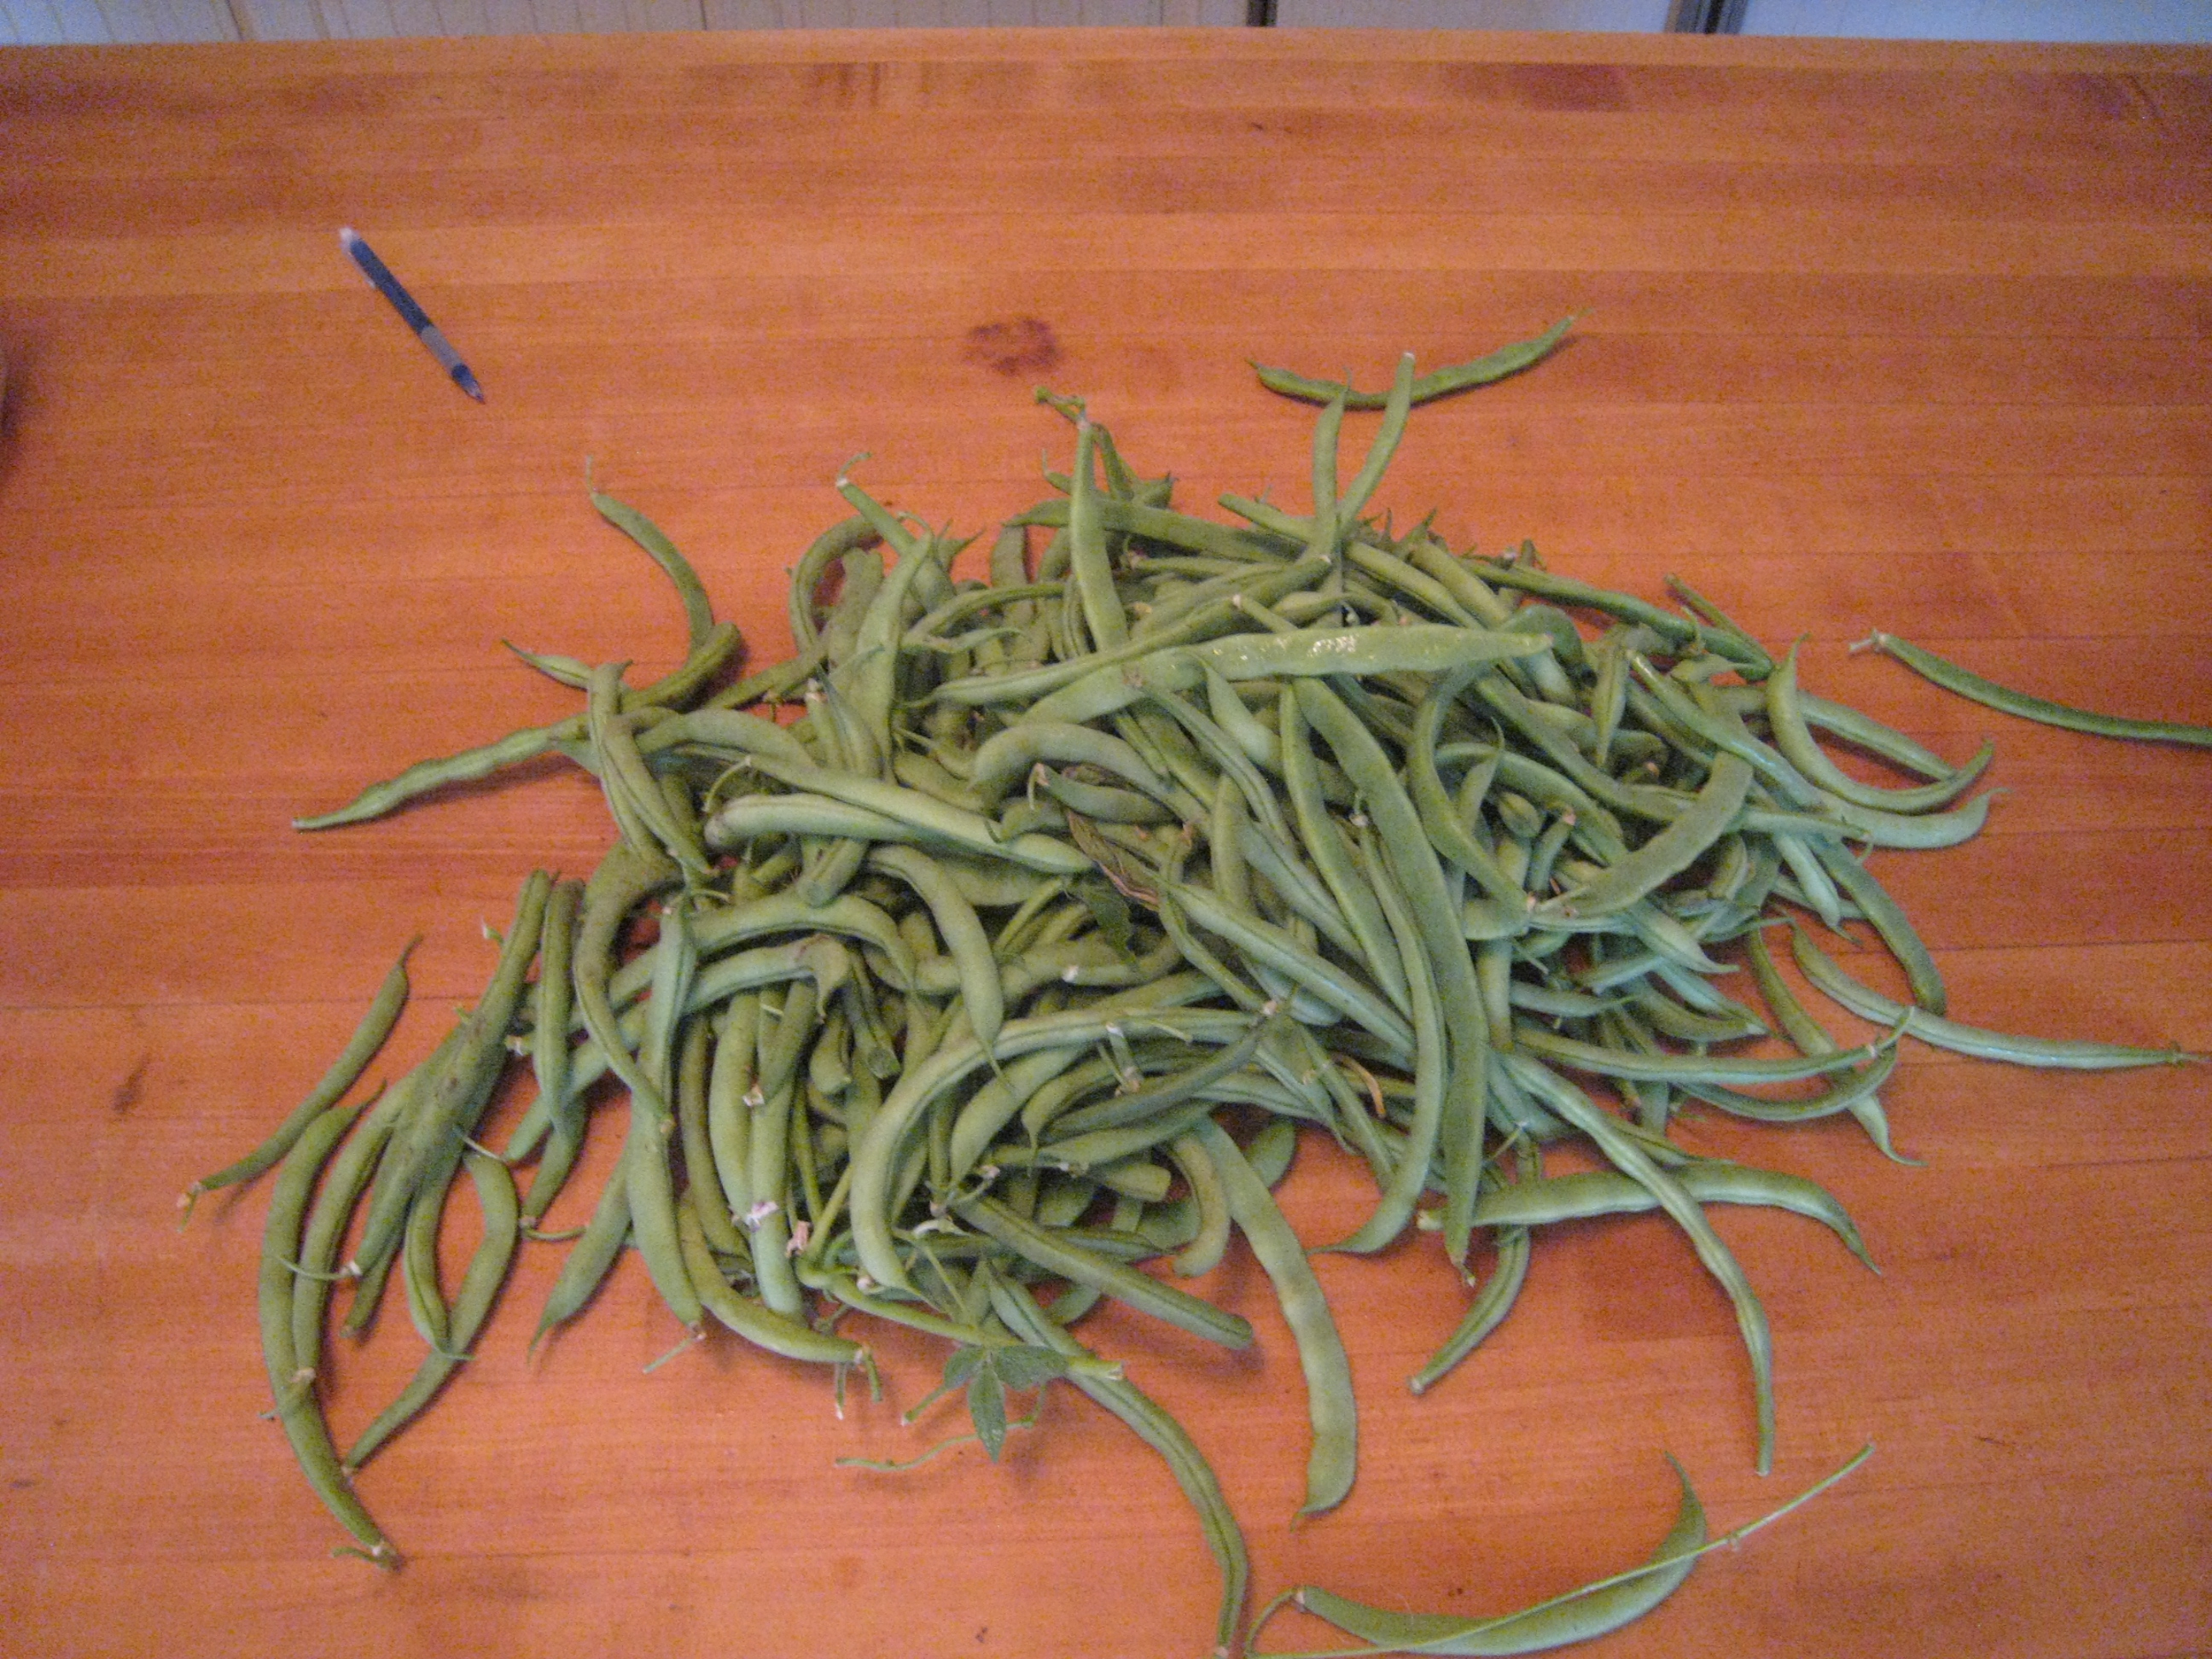
Pile o’ beans
This what happens when both The Gardener and the Harvest Manager leave town at the same time. Green beans mature quickly, and for the tastiest, tenderist bean, one must pick daily.
This pile represents about 3 1/2 pounds of beans. (The pen on the counter gives you an idea of the size of the pile.) Once I sorted the edible from the compostable, we had about 1 3/4 pounds. Half of the harvest ended up in the compost pile. That’s good for the compost, but not the best yield for the kitchen.
How to manage the harvest? Bring a pot of water to boil and toss in the trimmed beans (I pinch off the ends) for four minutes. Drain, cool, and drop in a freezer bag. Beans preserved this way will last for a few months in the freezer. Cook as you would fresh or frozen green beans.
Pickling Peppers – The Quest for Crunch
Since the beginning of time (or so it seems) The Harvest Manager has sought the illusive crunch in the pickled pepper. Over the years I have tried pickling lime, alum, grape leaves, and cold pack with refrigeration (thus avoiding the wilting properties of boiling). I can’t say that any of these methods yielded the crunch we find in commercially pickled peppers. So far, the most successful method (in this case applied to the pickling of green tomatoes) was submitted to the blog by reader Michael Brawer. Buy a jar of pickles, eat them, and put your own produce in the leftover brine. Refrigerate for a couple of weeks and voila! Crunchy pickled tomatoes or pickles or in our case peppers. Michael was kind enough to share his secrets with Save the Harvest readers back in December 2011.
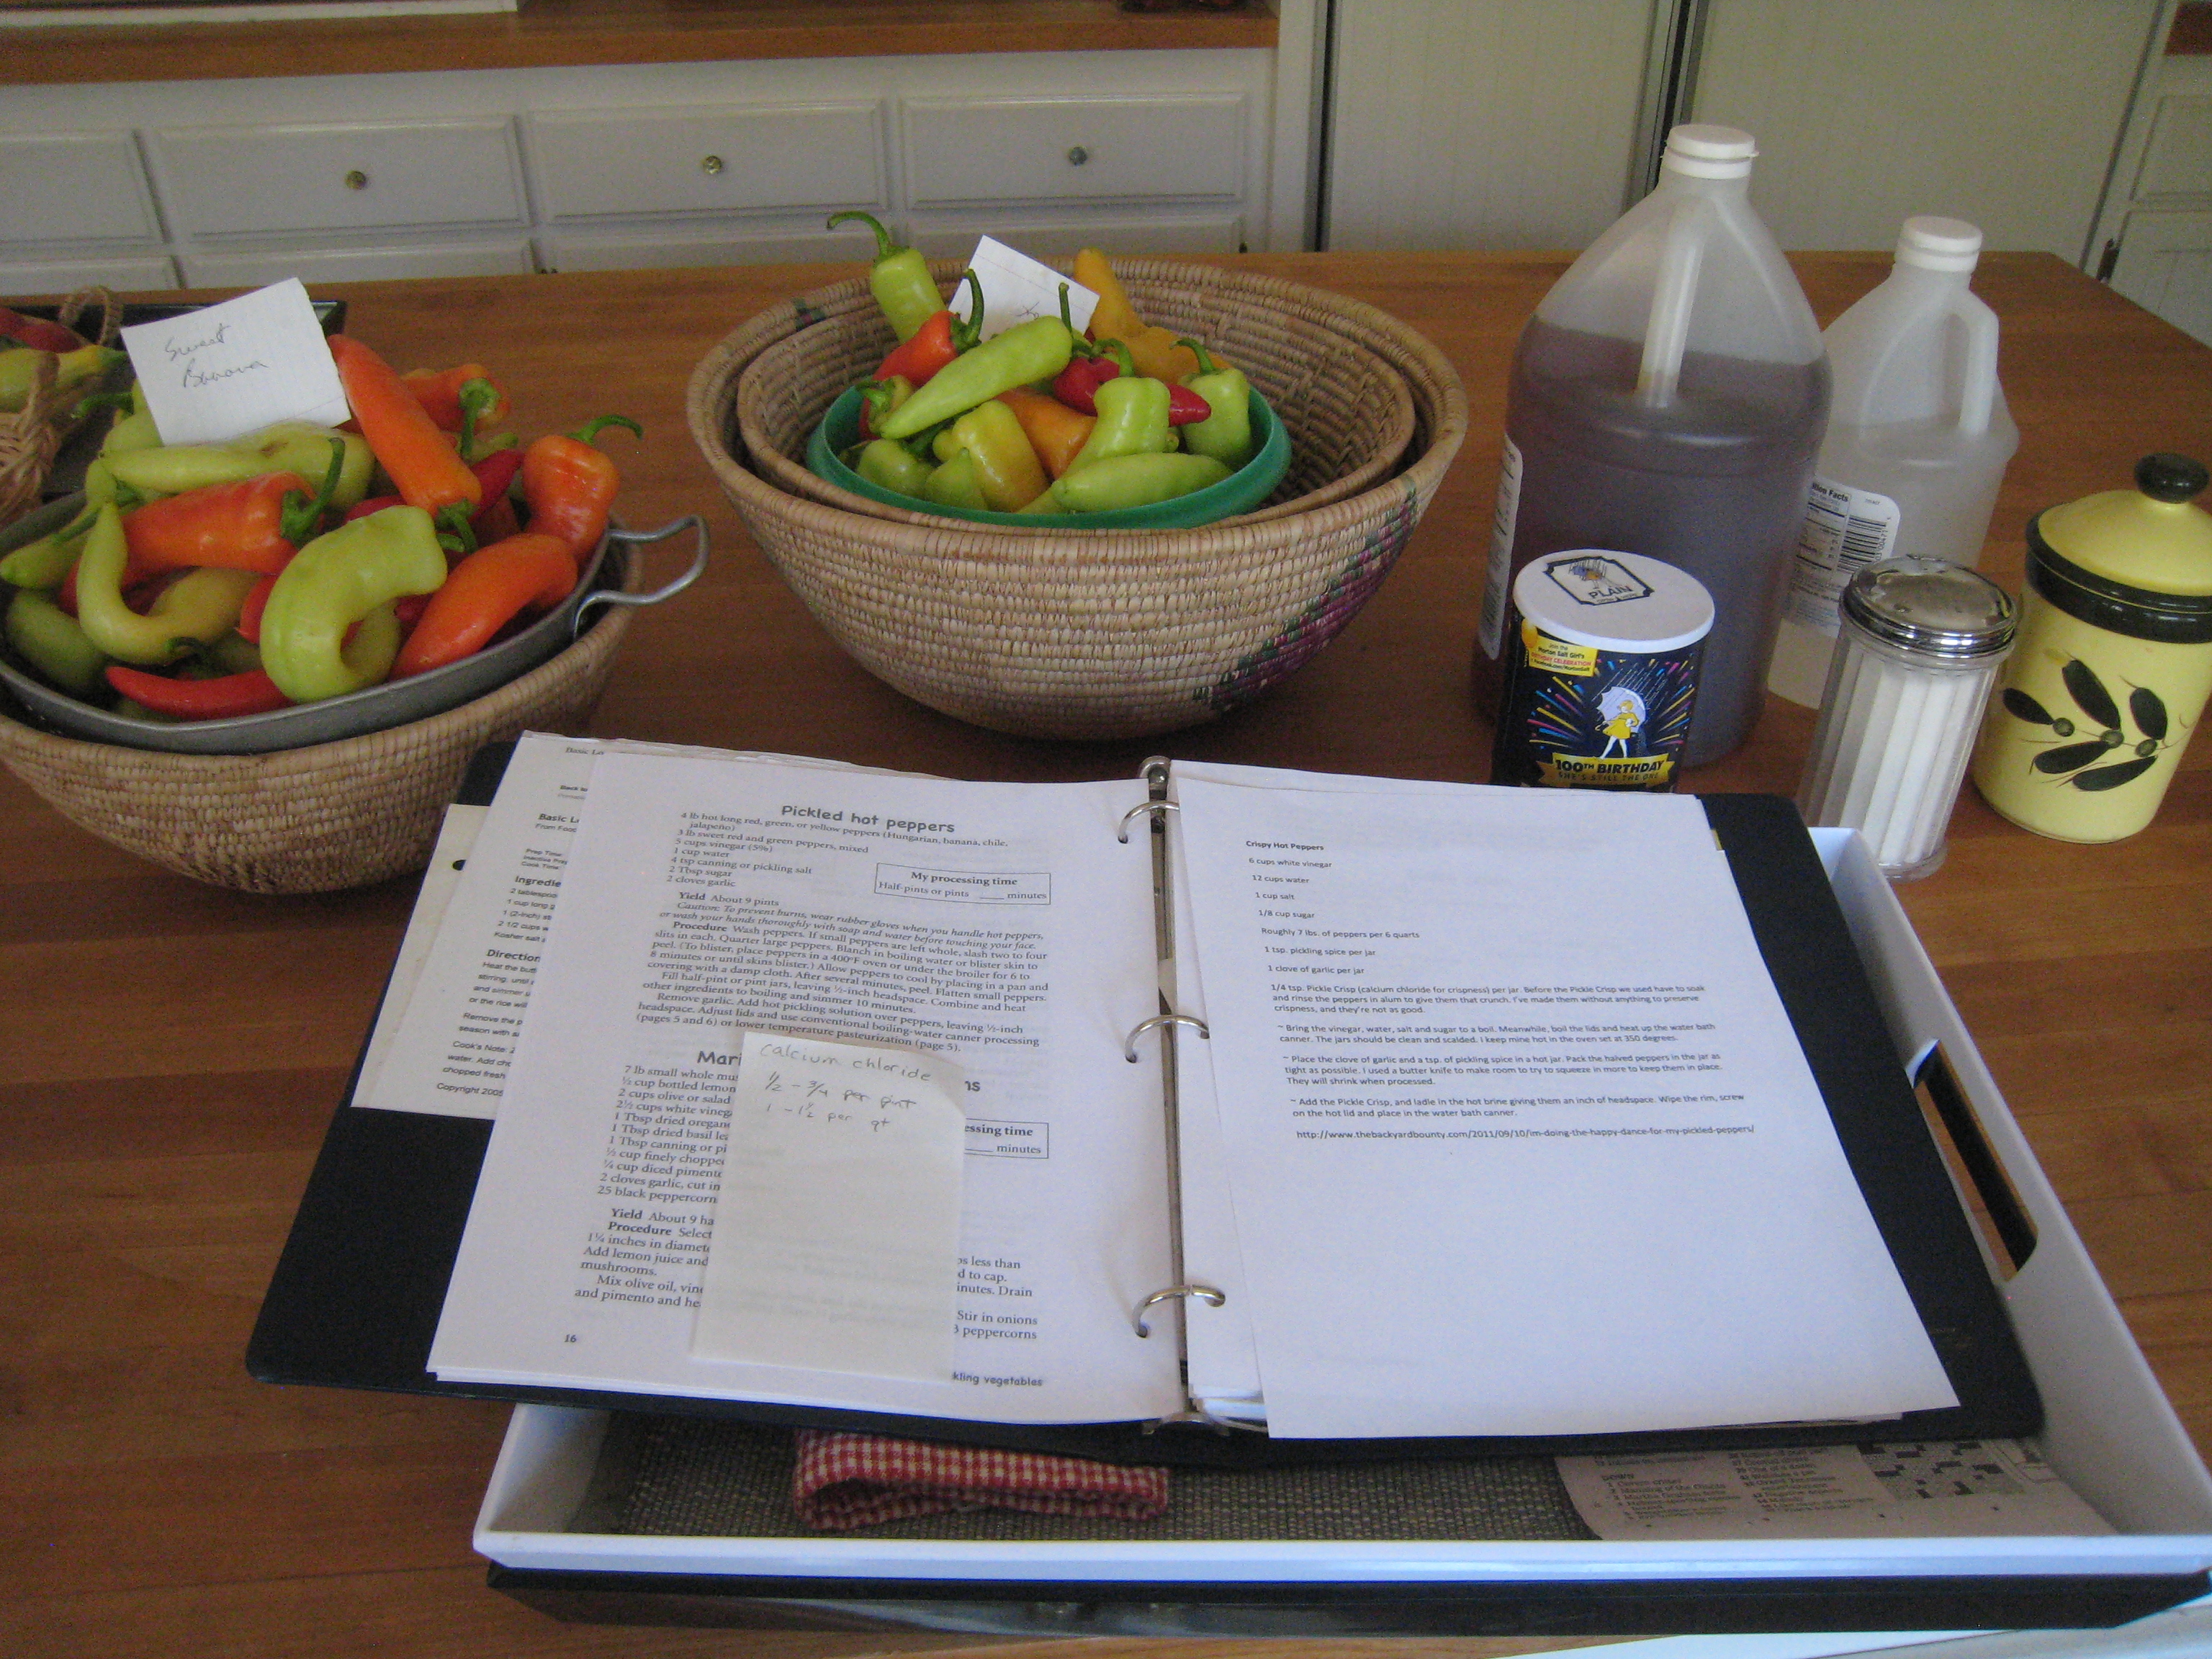
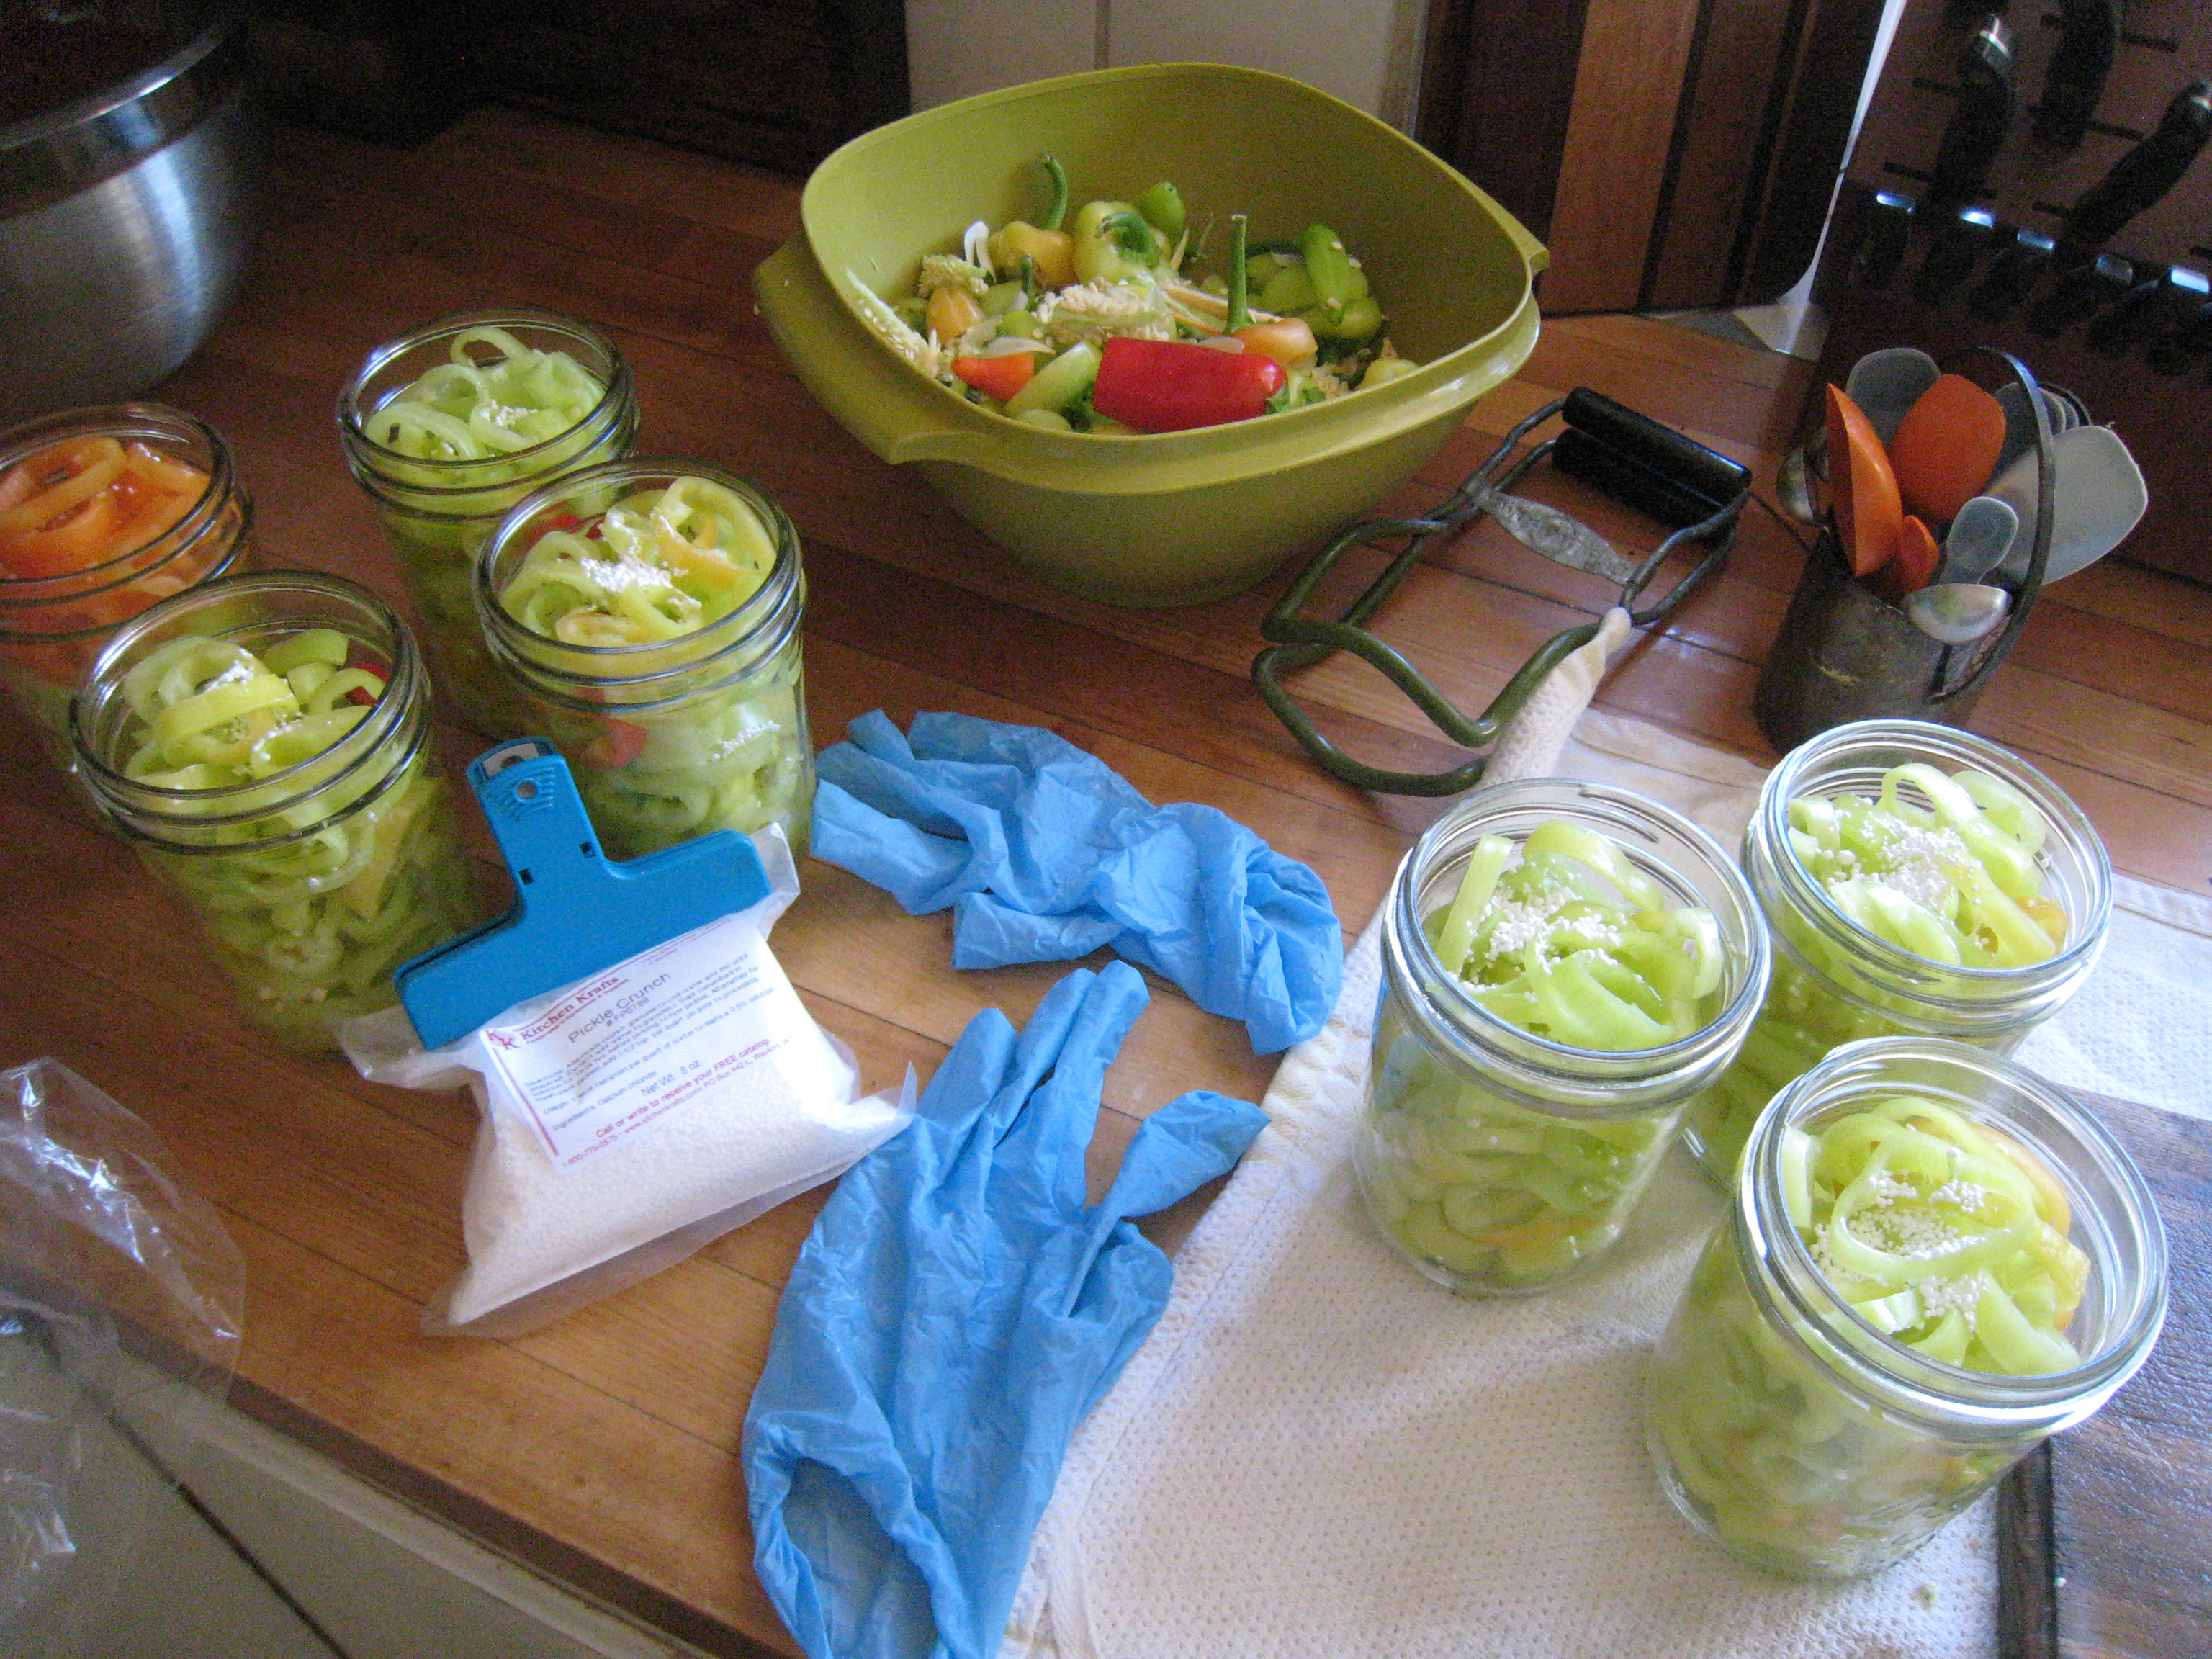
Banana Peppers ready for pickling
Secret Ingredients – Calcium chloride for crunch and latex gloves for handling peppers
Adopting the “Never Say Die” approach to pickling, this year The Gardener has tracked down a tried and true approach to the crunchy pickled pepper. Calcium chloride. You will find this ingredient mentioned on the label of many commercial pickles. According to Oregon State University Extension Service (scroll down to the document about Pickling Vegetables, PDF), it’s the way to go.
I used the OSU recipe for “Pickled hot peppers” on page 16 of the aforementioned PDF on Pickling Vegetables, adding 3/4 of a teaspoon of calcium chloride to each pint jar. I processed them in a conventional boiling water canner for 10 minutes. I’m going to wait a week or two before tasting, so I don’t know yet how they’ve turned out. I can say they look promising. Stay tuned.
Where to Buy Calcium Chloride
I got mine from Kitchen Krafts, but sometimes craft beer makers also use calcium chloride. If there’s a home brewer’s supply near you, give them a try or order from Home Brew Mart in San Diego.
Apple Harvest
Yes, you read that right. Here in the inland valleys of Southern California we’re picking apples. In the mountains just east of us, the crop comes in the Fall when one might expect it. Being the Harvest Manager, I don’t question these wily ways of nature. Mine is not to reason why, as they say. The Gardener has delivered about 10 pounds of apples to the kitchen. This is an interesting figure, as it’s too many to eat out of hand before they spoil and too few to employ the Squeezo in applesauce production.
Sounds like a job for the dryer. So, last night, quicker than you can say Doc Martin, the Harvest Manager loaded up the dryer with apple rings.

It’s a pretty straight forward process. Wash the apples. Core them. I use a corer for this task, but a thin knife could also work. Slice the cored apple into 1/4″ rings and place onto the dryer. I do not peel the apples, largely in order to save time. I also do not “prepare” them with sulpher, ascorbic acid, or syrup. These methods reduce the tendency of apples to turn brown. My strategy is to get them from whole apples to drying slices as quickly as possible, thus minimizing the opportunity to brown.
The dryer starts at 150 degrees for the first couple of hours then down to 130 degrees until the slices are dry. I proof them in a sealed container for a day or two after they come out of the dryer. This evens out the moisture content. These particular apples are likely to see a bit of backpacking this summer as well as a few training hikes in advance of the trip. Yum.
The Leeks Win
Astute and curious readers may remember back in April 2014 when The Gardener took up arms (the Black Hole) against a ravaging gopher. The gopher had violated the leek bed. It wasn’t pretty (sad, sad, gophered leek top below left). The game was on.


In the end, The Gardener won. The remaining leeks grew to maturity and the harvest is in (above right).
Now the Harvest Manager steps into the fray. Beyond the ever-tasty potato leek soup, I welcome ideas for the highest and best use of hard won leeks. Anyone, anyone?
June is onion time. The harvest starts when the green tops of the onions start to fall over. The Gardener sets up his drying tables under the coral tree in the front yard and the watch begins. The Gardener is watching for the green tops to dry up and more or less seal off the onion bulb. When this process is complete, the onion is ready to store.
June is also conference time. Every year around mid-June, the Harvest Manager gets up and moves about the country to convene with the global community of like minded colleagues. This year the conference, held in Vancouver British Columbia coincided with the drying and storing of onions. This year’s harvest weighed in at a full 65 pounds. No small amount of onions to be managed.
Just as the Harvest Manager occasionally has to take over in the absence of The Gardener (pause to run out and water the tomato seedlings), The Gardener stepped into the breach and expertly managed the onion harvest.
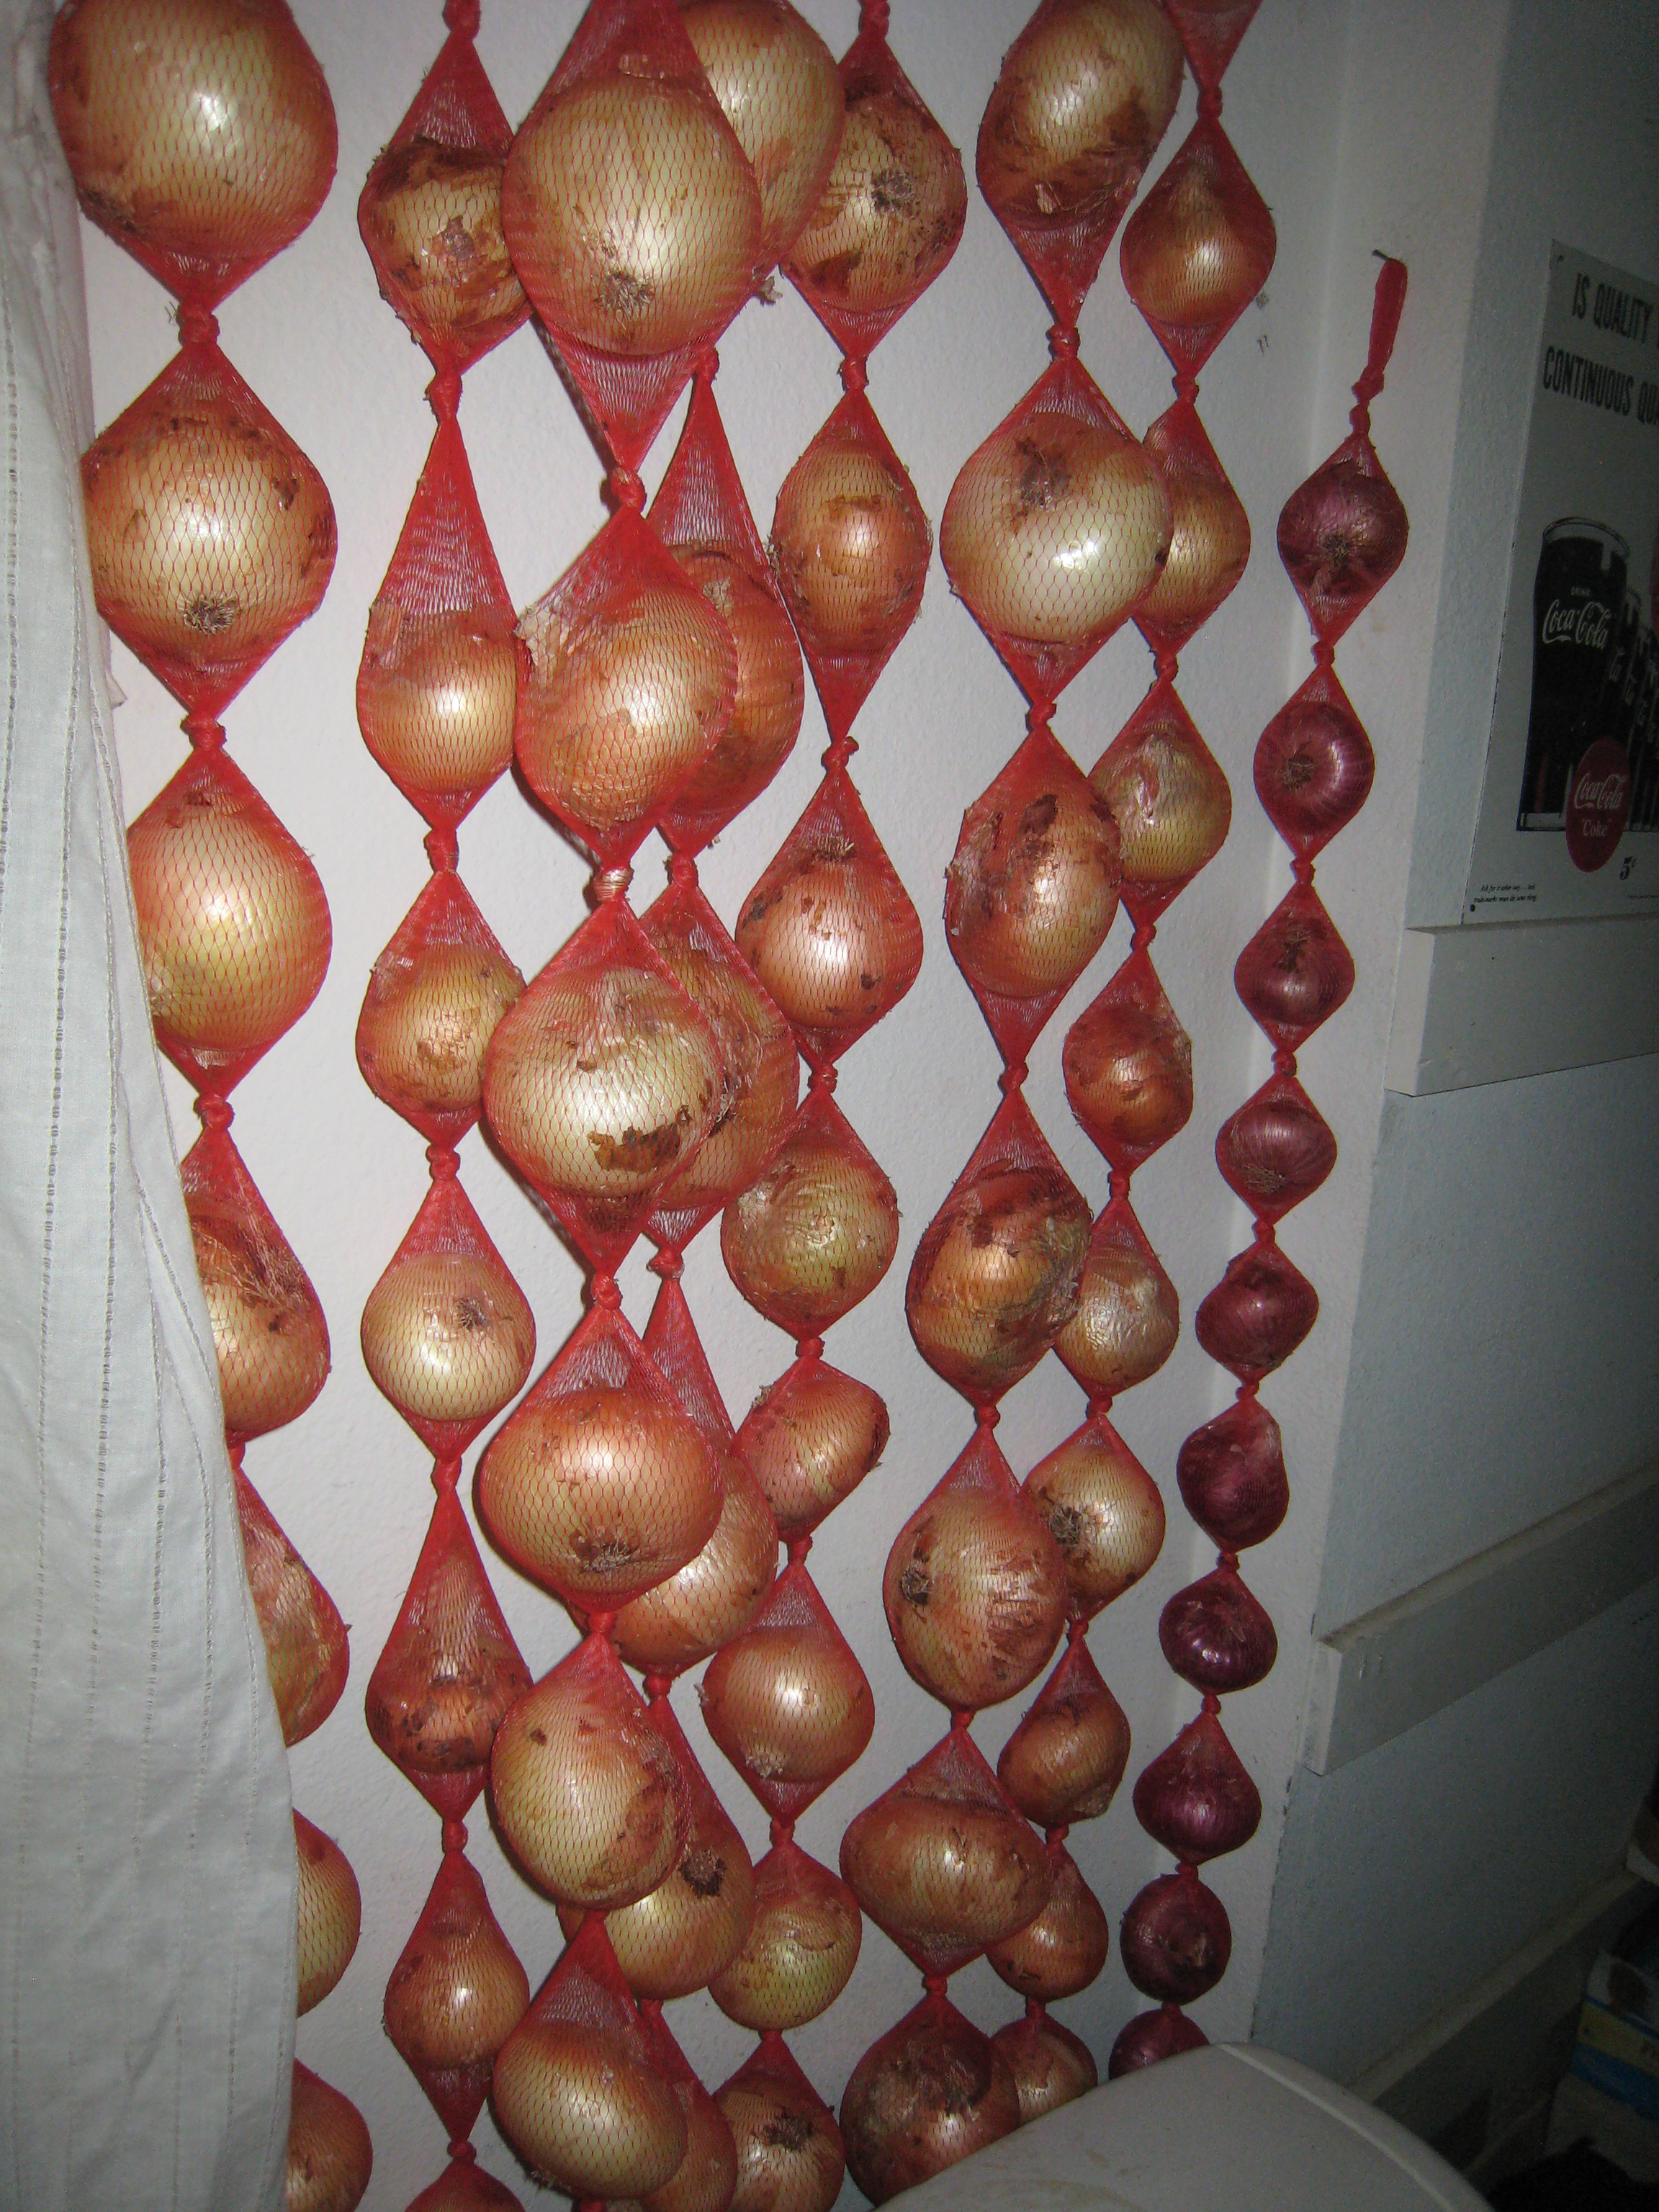
Onions – 2014
Little nails in the pantry wall hold the majority of this year’s harvest. These nets make an excellent substitute for the often used (but rarely available in my house) pantyhose.
Onions stored this way will keep for several months.
Well, done Gardener!
Romaine Lettuce
So, your CSA (community supported agriculture) box comes with too much Romaine lettuce. No worries! Here are some ideas to manage the abundance.
Grilled Hearts of Romaine
Remove the outer leaves of the head of Romaine and get down to the heart. Keeping the stem end in tact, lie the heart down on a cutting board and cut it lengthwise right through the center. Drizzle the lettuce with olive oil and place on a medium hot grill for a minute or two on each side. Remove from the grill, sprinkle with salt, pepper, and grated Parmesan cheese. Enjoy!
Simple Ceasar Salad
Use the outer leaves for a Ceasar salad. Slice the lettuce into strips and then crosswise into squares, or tear into bite size pieces. I use bottled Ceasar salad dressing. Add some grated Parmesan cheese. Croutons are optional.
For wilted salad, storage, and sharing ideas, click on Lettuce in the blog word cloud or click on the hyperlinked words in this sentence.
Let there be lettuce.
What’s Wrong with this Picture?
Late winter, early spring is a quiet time for harvesting, even in a year around gardening climate. Things are beginning to pop, however, and the beets, lettuce, and chard are coming on strong.
According to the harvest calendar leeks should come along soon, but it’s man vs. beast. The Gardener has experienced a set back.
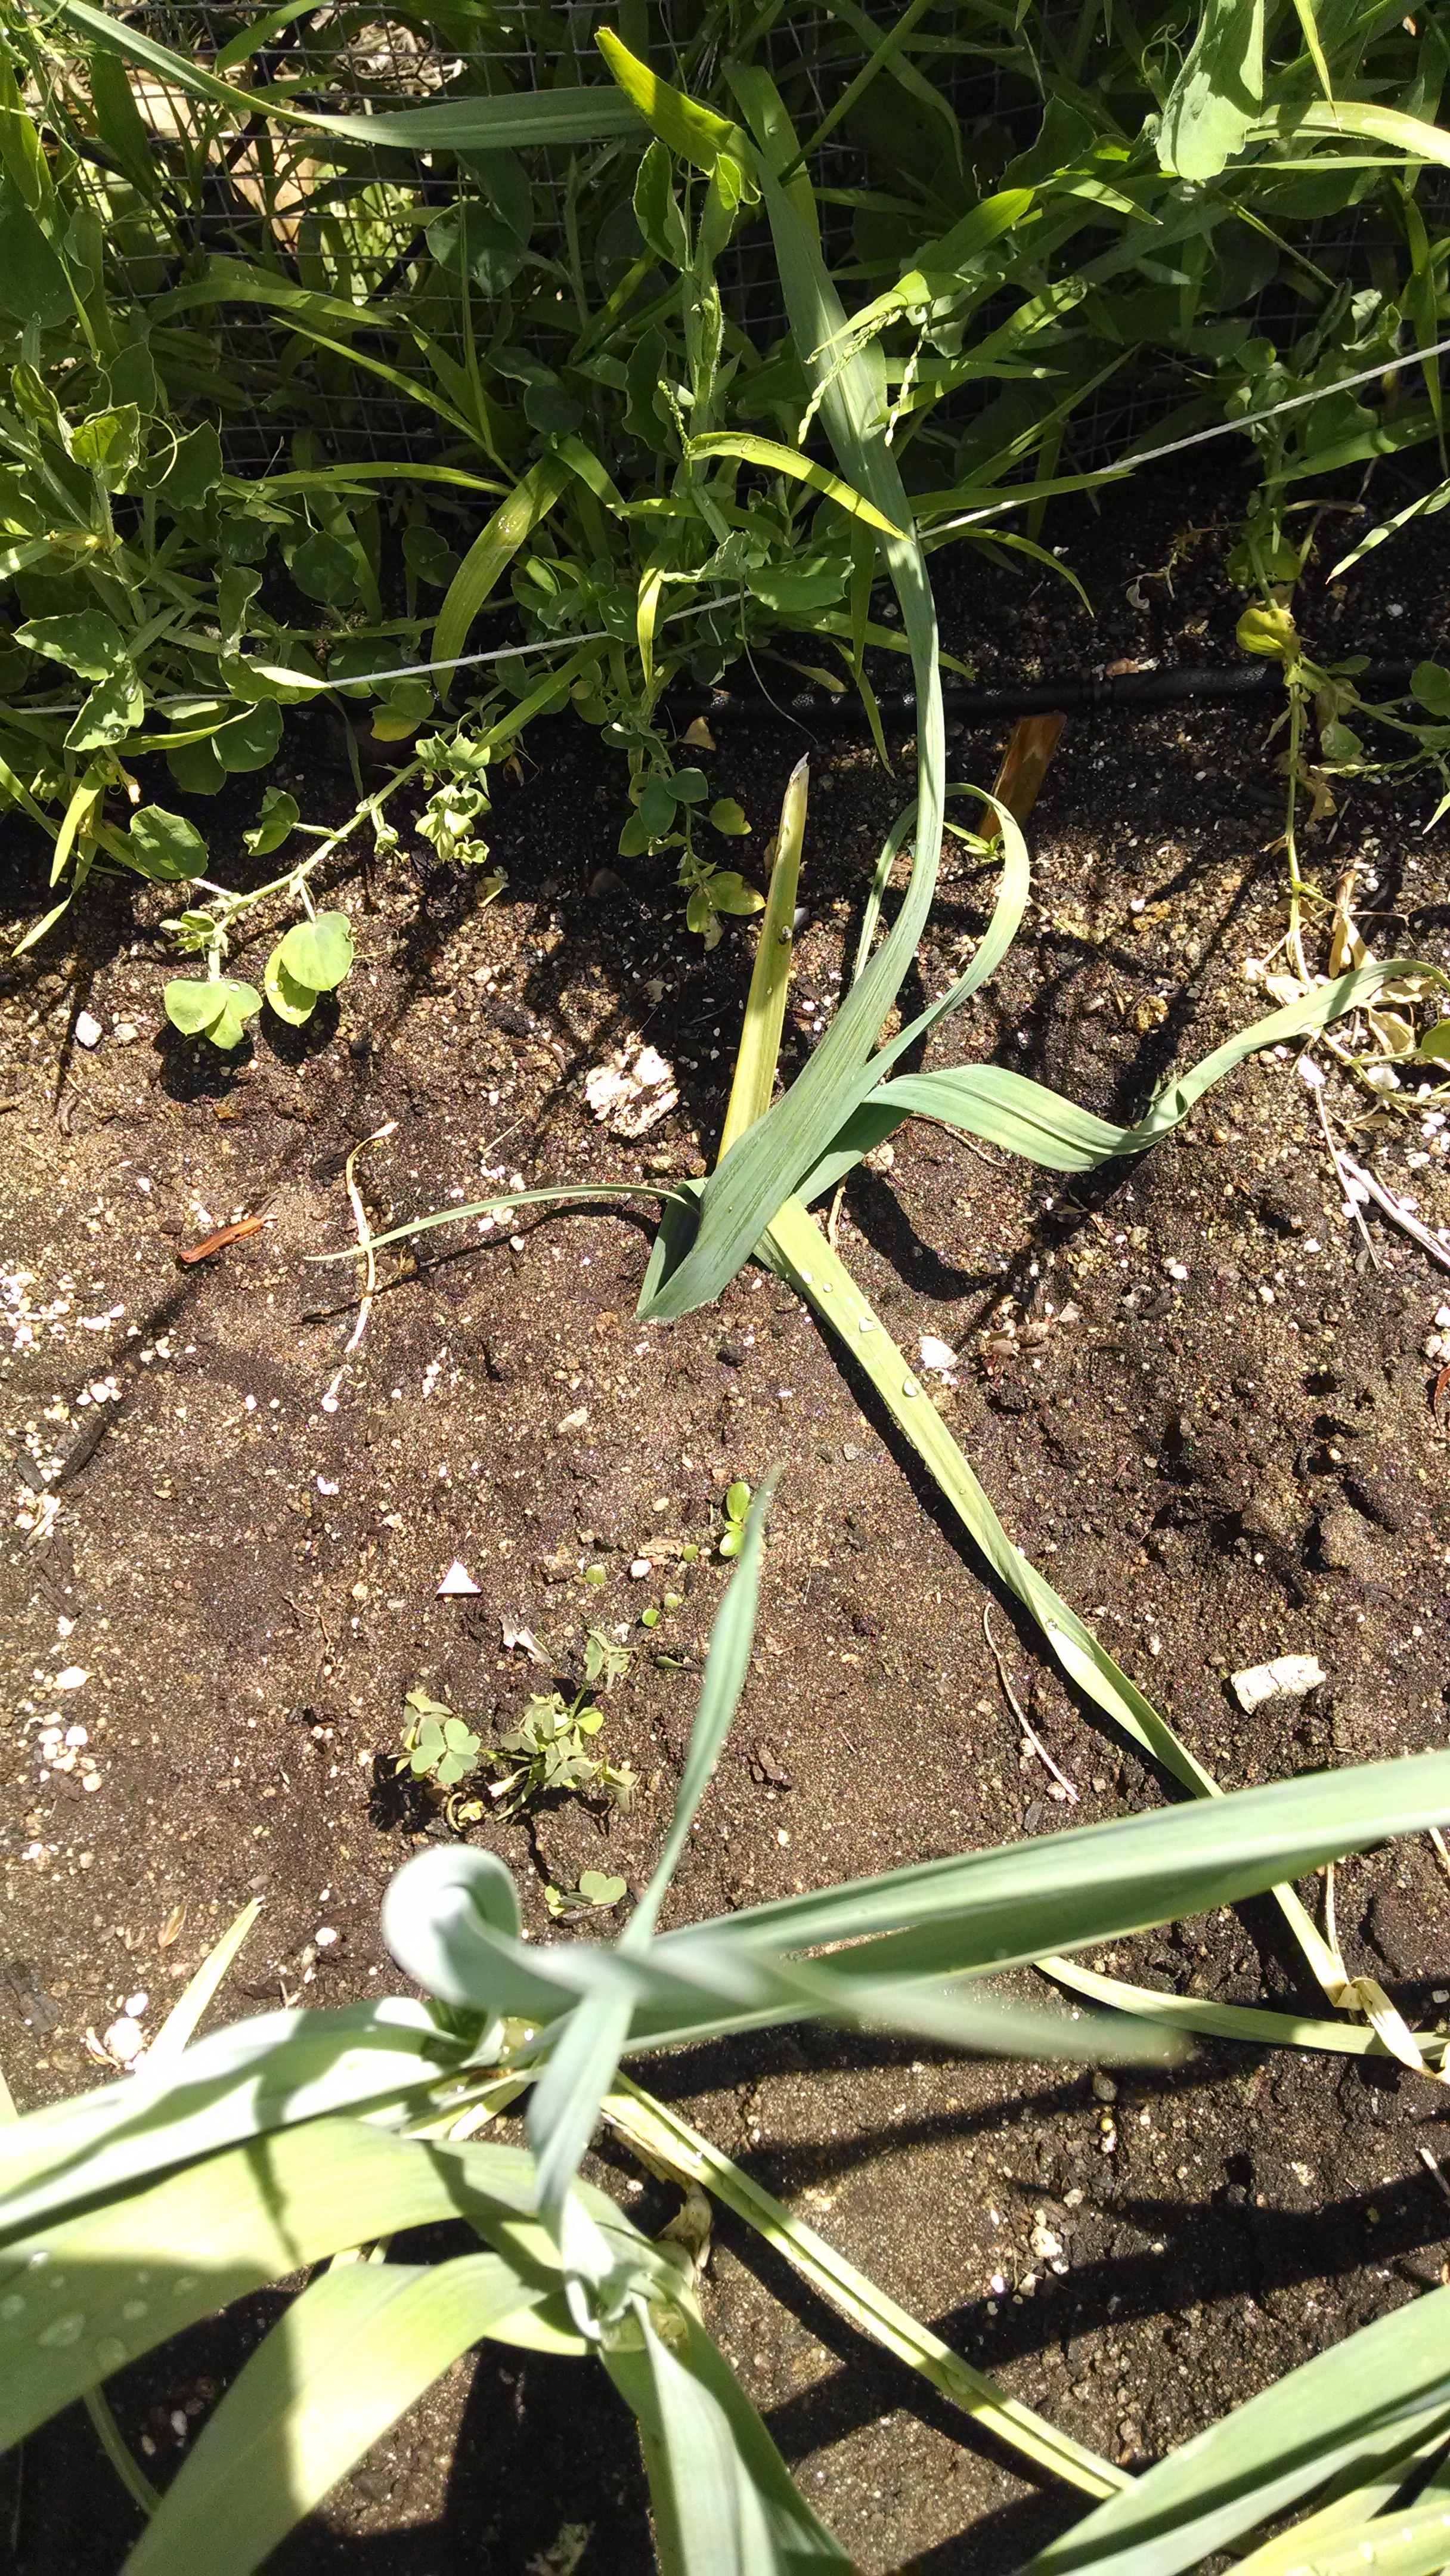
What’s wrong with this picture?
Ordinarily the round, thickening part of the maturing leek stem would be evident at ground level. In this picture (left) we have the flat blade of the upper leaves poking from the dirt. How can this be, you might well ask? Sadly, a gopher has come along from below, eaten off the yummy leek and pulled the plant underground in the process. Sigh.
The Gardener has deployed the deadly Black Hole gopher trap. The game is on.

Here’s what The Gardener brought to the kitchen.
Macadamia Nuts are Coming In
Not many harvest managers have to deal with macadamia nuts, at least not in the contiguous 48 states. Our Hawaiian friends might be the exception. The Gardener, being the omni-planter that he is, nurtures a large and prolific nut tree in our back yard orchard. Last year the crop was stolen by some unidentified culprit thought to be a rodent of some kind. Not this year. The Gardener delivers nuts by the bucket. Happily, he actively participates in harvest management. The steps are simple but labor intensive.
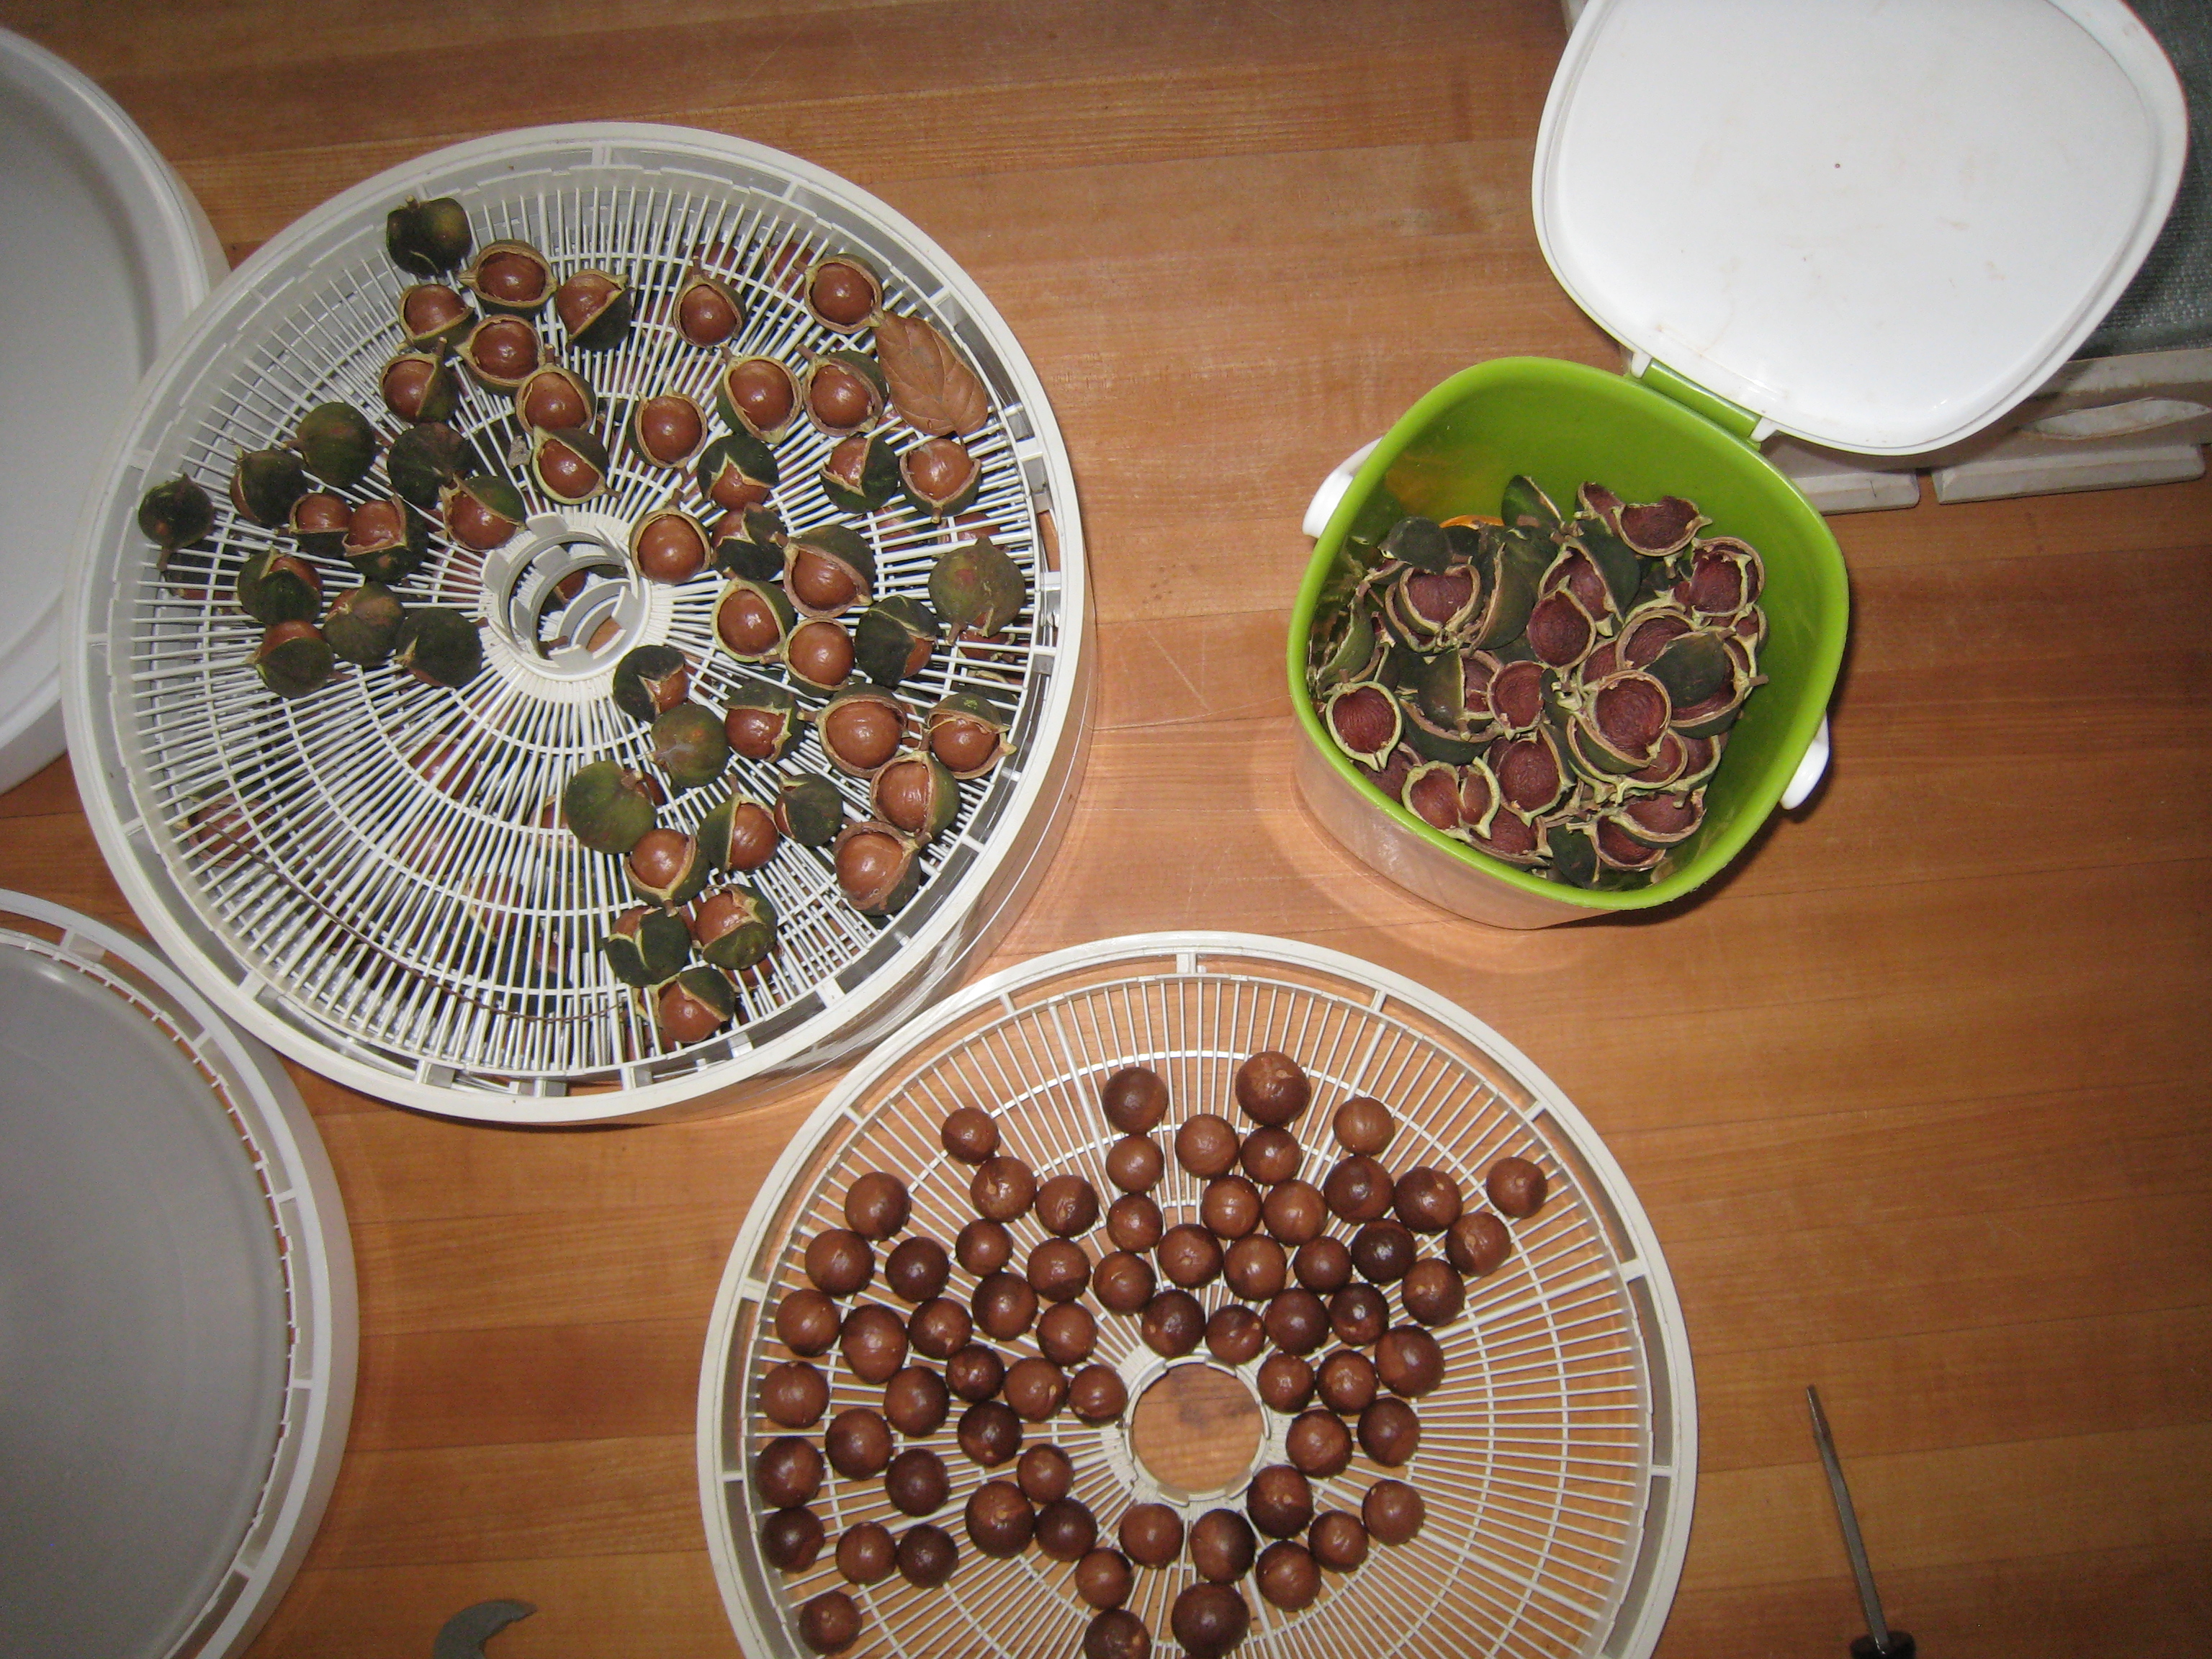
Nuts still in the husk (top left), discarded husks in the compost bin (top right), and nuts in the shell ready to go to through the second drying (bottom).
First, dry the nuts long enough to split the husk so it can be removed from around the shell. This takes about 24 hours on medium heat in the dehydrator. Then, break off the husk and return the nut (still in its shell) to the dryer for another 24-36 hours. Now they are ready to store, or crack and eat.
Macadamia nut shells are notoriously hard calling for creative cracking techniques or an industrial strength nut cracker. The Gardener opts for the latter.
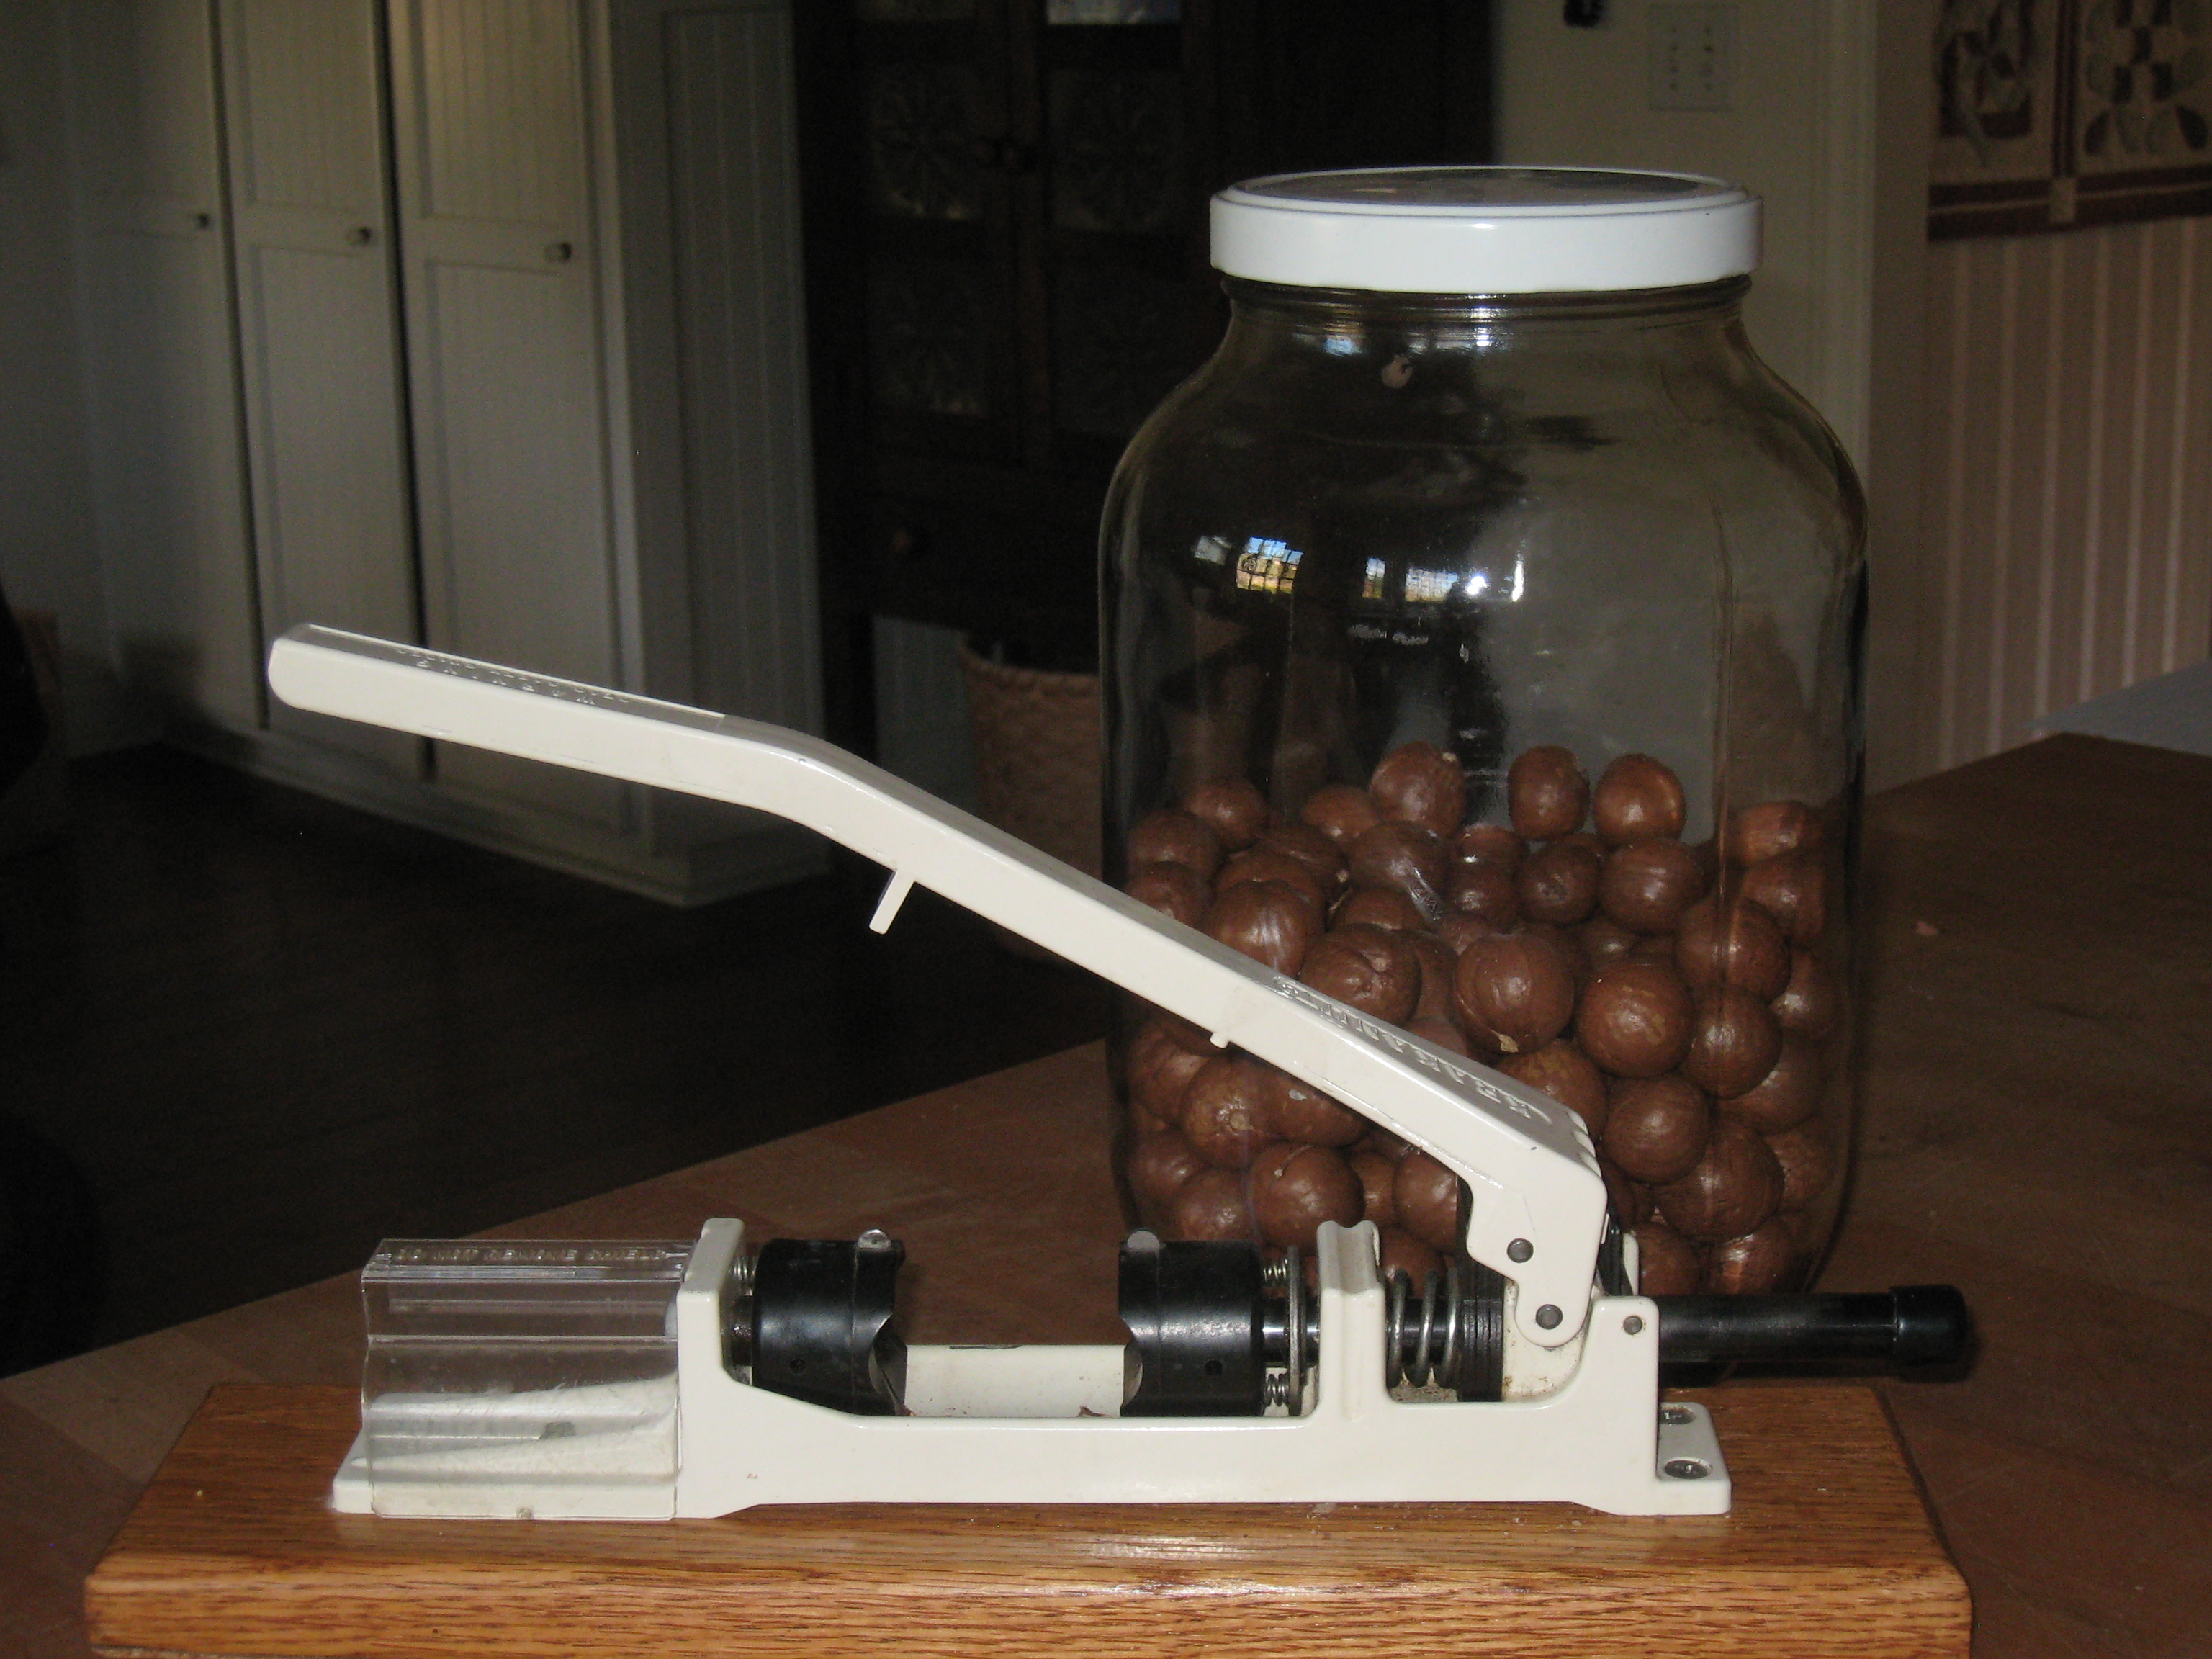
Macadamia nut cracker and jar of dried nuts.
As he says, ‘one should use the right tool for the job’. Cracking macadamia nuts is a loud undertaking, as the shell makes quite a sharp crack when it gives way. The end result, however, is worth it.
Kohlrabi as Greens?
Regular readers of Save the Harvest will know that the Harvest Manager has been off duty while recovering from knee surgery, leaving the Gardener free to get up and move about the kitchen. A recent kohlrabi harvest raised this question: ” I wonder if the greens (tops) of the kohlrabi would be good to eat?” The Harvest Manager was under the influence of pain meds at the time and did not have a meaningful opinion on the matter, except to say “no harm in trying.”
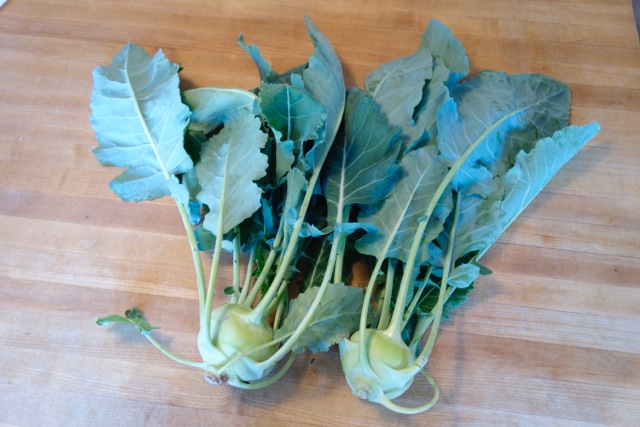
Kohlrabi harvest with tops
So, the Gardener lopped off the tops, cut out the stems, sliced them up, and cooked them like collards with a red pepper and a ham hock. He simmered them until the greens turned soft and the ham fell off the bone. Turns out kohlrabi tops make a tasty mess of greens – flavorful and a bit milder than collards. What didn’t get eaten the same day went into the freezer in serving size portions.
Well done, Gardener. Now we know that kohlrabi tops are good to eat.